hadoop@cuper-Inspiron-7591:~$ ssh localhost The authenticity of host 'localhost (127.0.0.1)' can't be established. ECDSA key fingerprint is SHA256:KdaSrcKwo3oMh/O692SC2cA0XUMScgb/mSXHb3iEI3g. Are you sure you want to continue connecting (yes/no/[fingerprint])? Host key verification failed.
hadoop@cuper-Inspiron-7591:~$ ssh localhost Warning: Permanently added 'localhost' (ECDSA) to the list of known hosts. hadoop@localhost's password: Welcome to Ubuntu 20.04 LTS (GNU/Linux 5.4.0-40-generic x86_64) * Documentation: https://help.ubuntu.com * Management: https://landscape.canonical.com * Support: https://ubuntu.com/advantage 1 device has a firmware upgrade available. Run `fwupdmgr get-upgrades` for more information. 91 updates can be installed immediately. 0 of these updates are security updates. To see these additional updates run: apt list --upgradable The programs included with the Ubuntu system are free software; the exact distribution terms for each program are described in the individual files in /usr/share/doc/*/copyright. Ubuntu comes with ABSOLUTELY NO WARRANTY, to the extent permitted by applicable law.
cd ~/.ssh/ ssh-keygen -t rsa cat ./id_rsa.pub >> ./authorized_keys
终端反馈大概是这个样子,其中ssh-keygen -t rsa这条命令中的选项直接按回车默认即可:
1 2 3 4 5 6 7 8 9 10 11 12 13 14 15 16 17 18
hadoop@cuper-Inspiron-7591:~$ cd ~/.ssh/ hadoop@cuper-Inspiron-7591:~/.ssh$ ssh-keygen -t rsa Generating public/private rsa key pair. Enter file inwhich to save the key (/home/hadoop/.ssh/id_rsa): Enter passphrase (empty for no passphrase): Enter same passphrase again: Your identification has been saved in /home/hadoop/.ssh/id_rsa Your public key has been saved in /home/hadoop/.ssh/id_rsa.pub The key fingerprint is: xxxxxxxxxxxxxxxxxxxxxxxx hadoop@cuper-Inspiron-7591 The key's randomart image is: +---[RSA 3072]----+ | .o .o= o| 还挺牛逼,有二维码内味了 | o++ . | +----[SHA256]-----+ hadoop@cuper-Inspiron-7591:~/.ssh$ cat ./id_rsa.pub >> ./authorized_keys hadoop@cuper-Inspiron-7591:~/.ssh$
hadoop@cuper-Inspiron-7591:/usr/local/hadoop$ ./bin/hadoop version Hadoop 3.1.3 Source code repository https://gitbox.apache.org/repos/asf/hadoop.git -r ba631c436b806728f8ec2f54ab1e289526c90579 Compiled by ztang on 2019-09-12T02:47Z Compiled with protoc 2.5.0 From source with checksum ec785077c385118ac91aadde5ec9799 This command was run using /usr/local/hadoop/share/hadoop/common/hadoop-common-3.1.3.jar
hadoop@cuper-Inspiron-7591:/usr/local/hadoop$ ./bin/hadoop jar ./share/hadoop/mapreduce/hadoop-mapreduce-examples-3.1.3.jar An example program must be given as the first argument.#必须给出一个示例程序作为第一个参数。 Valid program names are:#有效的程序名为: aggregatewordcount: An Aggregate based map/reduce program that counts the words in the input files.#一个基于聚合的map/reduce程序,对输入文件中的单词进行计数。 aggregatewordhist: An Aggregate based map/reduce program that computes the histogram of the words in the input files.#一个基于聚合的map/reduce程序,用于计算输入文件中单词的直方图。 bbp: A map/reduce program that uses Bailey-Borwein-Plouffe to compute exact digits of Pi.#一个map/reduce程序,使用Bailey-Borwein-Plouffe计算Pi的精确位数。 dbcount: An example job that count the pageview counts from a database.#从数据库中统计页面视图计数的示例作业。 distbbp: A map/reduce program that uses a BBP-type formula to compute exact bits of Pi.#一个map/reduce程序,使用BBP类型的公式计算Pi的精确位。 grep: A map/reduce program that counts the matches of a regex in the input.#一个map/reduce程序,计算输入中正则表达式的匹配项。 join: A job that effects a join over sorted, equally partitioned datasets#对已排序、分区相等的数据集执行join的作业 multifilewc: A job that counts words from several files.#从多个文件中计算字数的作业。 pentomino: A map/reduce tile laying program to find solutions to pentomino problems.#一个map/reduce瓷砖铺设程序,以找到pentomino问题的解决方案。 pi: A map/reduce program that estimates Pi using a quasi-Monte Carlo method.#使用准蒙特卡罗方法估计pi的map/reduce程序。 randomtextwriter: A map/reduce program that writes 10GB of random textual data per node.#map/reduce程序,每个节点写入10GB的随机文本数据。 randomwriter: A map/reduce program that writes 10GB of random data per node.#一个map/reduce程序,每个节点写入10GB的随机数据。 secondarysort: An example defining a secondary sort to the reduce.#定义reduce的二级排序的示例。 sort: A map/reduce program that sorts the data written by the random writer.#一个map/reduce程序,对随机写入的数据进行排序。 sudoku: A sudoku solver.#数独 teragen: Generate data for the terasort#为terasort生成数据 terasort: Run the terasort#运行terasort teravalidate: Checking results of terasort#检查terasort的结果 wordcount: A map/reduce program that counts the words in the input files.#一个对输入文件中的单词进行计数的map/reduce程序。 wordmean: A map/reduce program that counts the average length of the words in the input files.#一个map/reduce程序,计算输入文件中单词的平均长度。 wordmedian: A map/reduce program that counts the median length of the words in the input files.#一个map/reduce程序,用于计算输入文件中单词的中值长度。 wordstandarddeviation: A map/reduce program that counts the standard deviation of the length of the words in the input files.#一个map/reduce程序,计算输入文件中单词长度的标准偏差。
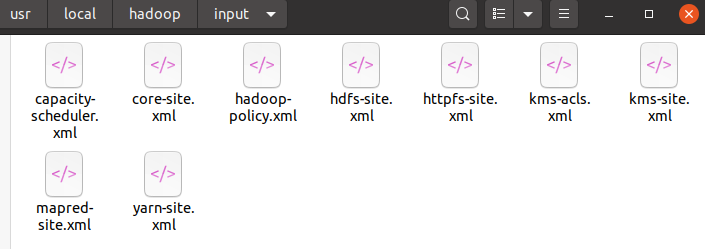
cd /usr/local/hadoop mkdir ./input cp ./etc/hadoop/*.xml ./input # 将配置文件作为输入文件
复制后的input文件夹大致是这个样子:
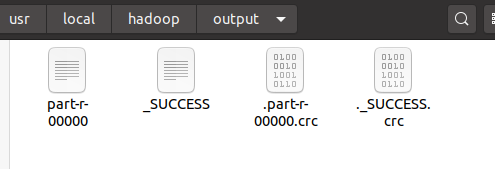
筛选当中符合正则表达式 dfs[a-z.]+ 的单词并统计出现的次数,运行情况大致如下:
1 2 3 4 5 6 7 8 9 10 11 12 13 14 15 16 17
hadoop@cuper-Inspiron-7591:/usr/local/hadoop$ ./bin/hadoop jar ./share/hadoop/mapreduce/hadoop-mapreduce-examples-3.1.3.jar grep ./input ./output 'dfs[a-z.]+' 2020-07-21 11:49:52,083 INFO impl.MetricsConfig: loaded properties from hadoop-metrics2.properties 2020-07-21 11:49:52,141 INFO impl.MetricsSystemImpl: Scheduled Metric snapshot period at 10 second(s). 2020-07-21 11:49:52,141 INFO impl.MetricsSystemImpl: JobTracker metrics system started
hadoop@cuper-Inspiron-7591:/usr/local/hadoop$ ./bin/hdfs namenode -format WARNING: /usr/local/hadoop/logs does not exist. Creating. 2020-07-21 13:01:34,335 INFO namenode.NameNode: STARTUP_MSG: /************************************************************ STARTUP_MSG: Starting NameNode STARTUP_MSG: host = cuper-Inspiron-7591/127.0.1.1 STARTUP_MSG: args = [-format] STARTUP_MSG: version = 3.1.3 ******************省略一大段执行信息********************* 2020-07-21 13:01:34,848 INFO common.Storage: Storage directory /usr/local/hadoop/tmp/dfs/name has been successfully formatted. 2020-07-21 13:01:34,871 INFO namenode.FSImageFormatProtobuf: Saving image file /usr/local/hadoop/tmp/dfs/name/current/fsimage.ckpt_0000000000000000000 using no compression 2020-07-21 13:01:34,924 INFO namenode.FSImageFormatProtobuf: Image file /usr/local/hadoop/tmp/dfs/name/current/fsimage.ckpt_0000000000000000000 of size 393 bytes saved in 0 seconds . 2020-07-21 13:01:34,933 INFO namenode.NNStorageRetentionManager: Going to retain 1 images with txid >= 0 2020-07-21 13:01:34,935 INFO namenode.FSImage: FSImageSaver clean checkpoint: txid = 0 when meet shutdown. 2020-07-21 13:01:34,935 INFO namenode.NameNode: SHUTDOWN_MSG: /************************************************************ SHUTDOWN_MSG: Shutting down NameNode at cuper-Inspiron-7591/127.0.1.1 ************************************************************/
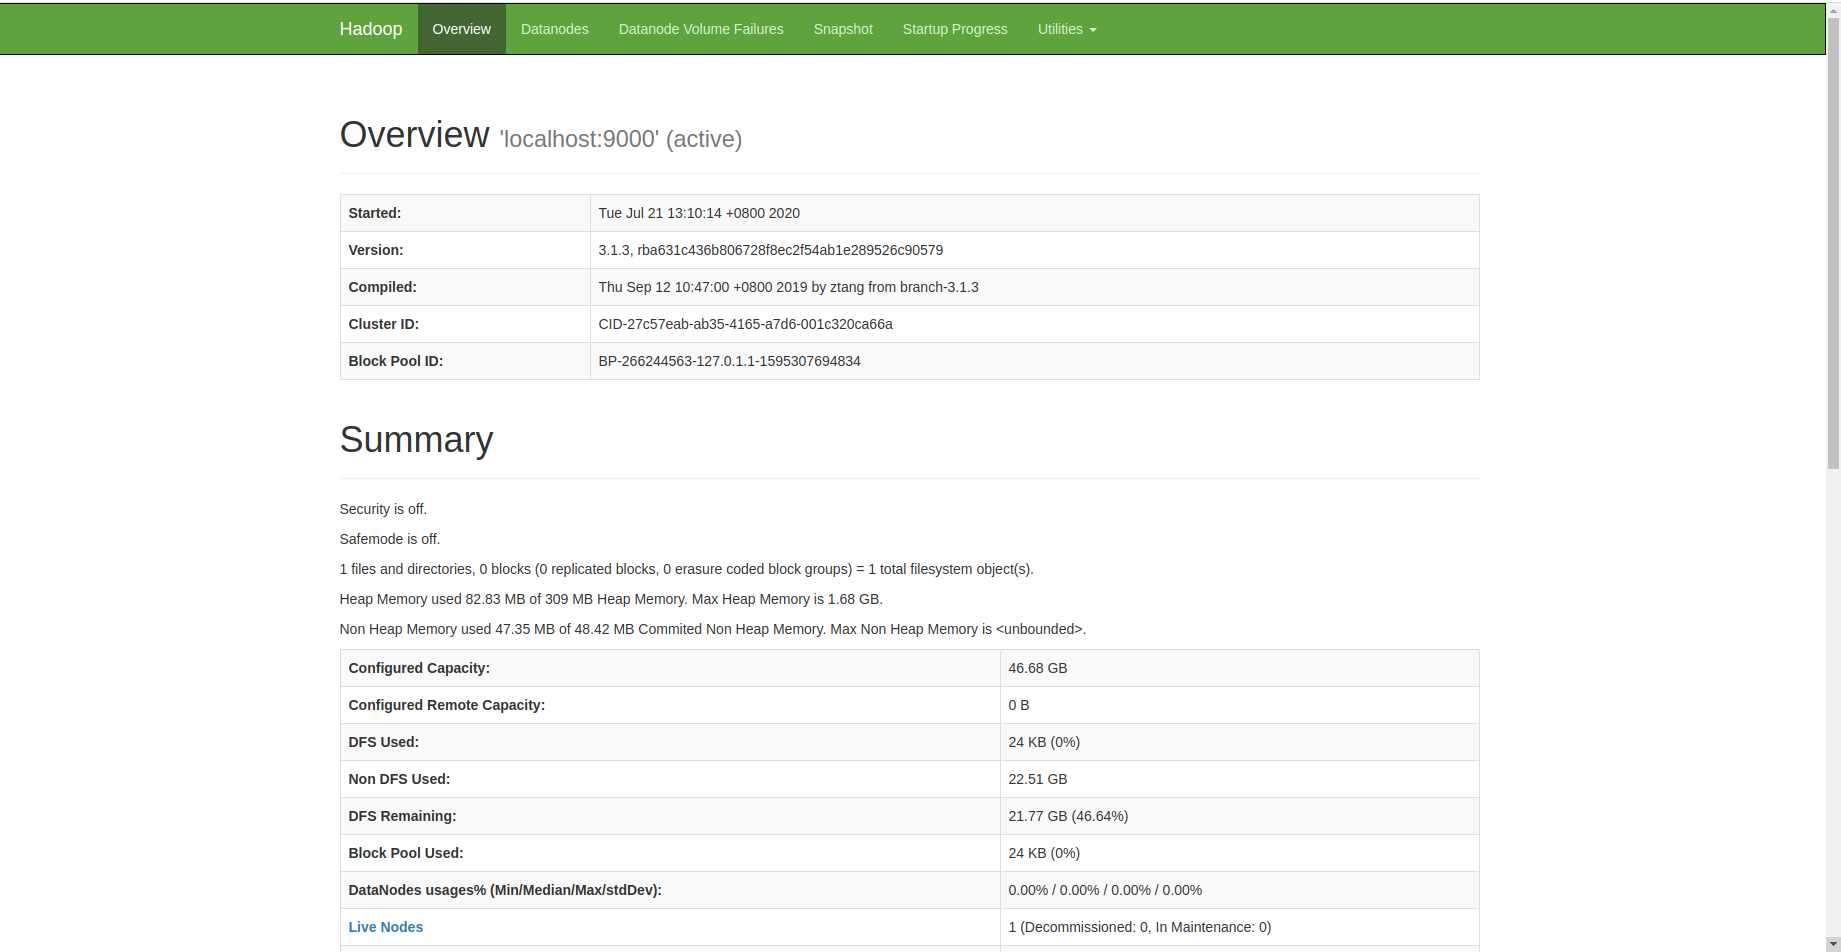
接着开启 NameNode 和 DataNode 守护进程。
1 2
cd /usr/local/hadoop ./sbin/start-dfs.sh #start-dfs.sh是个完整的可执行文件,中间没有空格
在这里反而出现了参考文章里的上一步提到的那个**ERROR: JAVA_HOME is not set and could not be found.**于是根据教程去hadoop的安装目录修改配置文件“/usr/local/hadoop/etc/hadoop/hadoop-env.sh”,在里面找到“export JAVA_HOME=${JAVA_HOME}”这行,但我找到的是这样的:
1
#export JAVA_HOME=
于是去掉注释再改上我的Java安装路径:
1
export JAVA_HOME=/usr/lib/jvm/jdk1.8.0_191
然后,再次运行守护进程(没有重启hadoop),warning可以不用管:
1 2 3 4 5 6 7
hadoop@cuper-Inspiron-7591:/usr/local/hadoop$ ./sbin/start-dfs.sh
Starting namenodes on [localhost]
localhost: Warning: Permanently added 'localhost' (ECDSA) to the list of known hosts.
Starting datanodes
localhost: Warning: Permanently added 'localhost' (ECDSA) to the list of known hosts.
Starting secondary namenodes [cuper-Inspiron-7591]
cuper-Inspiron-7591: Warning: Permanently added 'cuper-inspiron-7591' (ECDSA) to the list of known hosts.